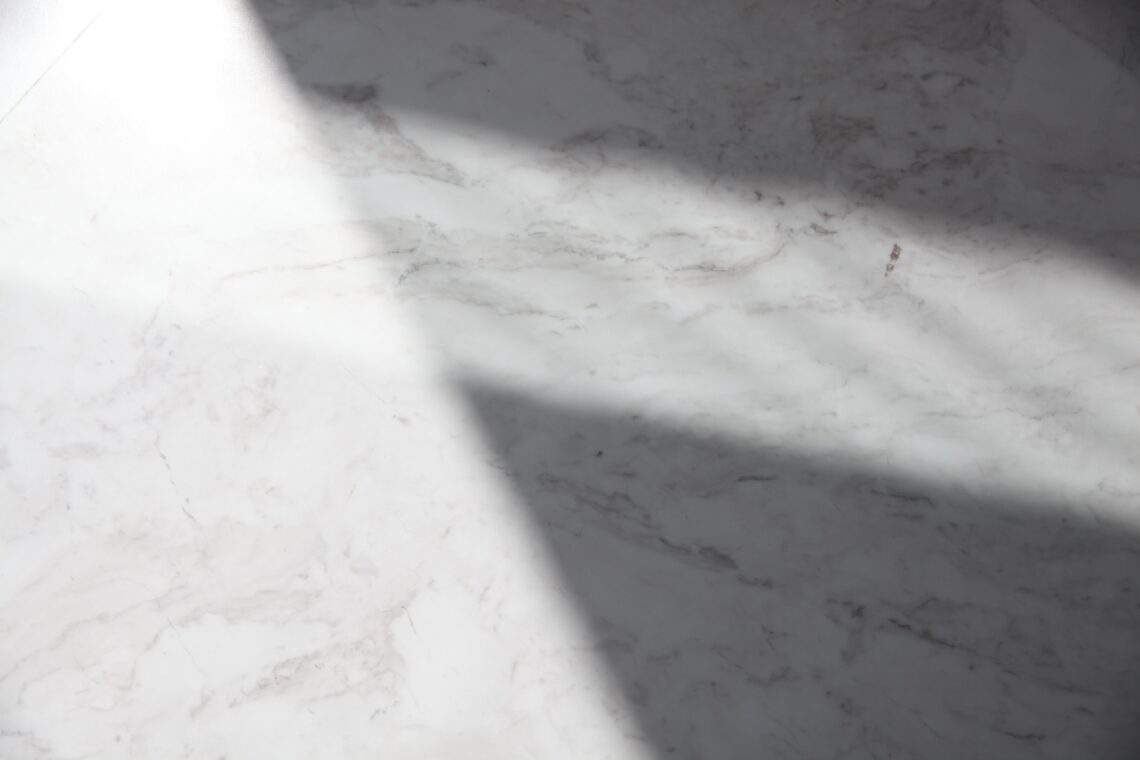
Stone Sealing 101: How to Protect and Maintain Your Stone Floors
You’ve invested in beautiful stone floors, and you want them to last, right? You’re in the right place. In this quick guide, we’ll demystify stone sealing, helping you protect your investment. You’ll learn how to identify your stone type, select the right sealant, and follow a step-by-step sealing process. We’ll even throw in maintenance tips to keep your floors looking their best. Let’s dive in and make your floors shine.
Why is Stone Sealing Important?
Sealing your stone floors is an essential step in preserving their beauty and durability. Here’s why. Stone sealing acts as a barrier, repelling stains and moisture that can cause damage over time. Imagine it as an invisible shield that keeps harmful elements at bay. It also enhances the natural color and texture of the stone, giving it a more vibrant look.
But, it’s not a one-time job. You need to reseal your floors periodically, depending on the type of stone and the amount of traffic they receive. To make this task easier, consider using a services from StoneProtection.com.au. Their specialized sealants offer long-lasting protection and ensure your floors stay in impeccable condition.
It’s important that you don’t skimp on this maintenance task or that you seek stone restoration services if needed. It’s a small investment that can extend the life of your exquisite stone floors and keep them looking fresh and new for years.
Benefits of Sealing Your Stone Floors
While you may already appreciate the protective qualities of stone sealing, it’s crucial to understand the numerous other benefits you’ll enjoy when you make this task a regular part of your stone floor maintenance routine.
- Enhanced Appearance: Sealing enhances the natural beauty of your stone floors, making the colors more vibrant and the patterns more distinct.
- Longevity: Sealing acts as a barrier against stains, scratches, and wear and tear, effectively extending the lifespan of your stone floors.
- Ease of Maintenance: A sealed stone floor is easier to clean. Spills wipe up easily and it’s less likely to harbor bacteria or mold.
Identifying Your Stone Type
Before you start sealing, it’s crucial you identify the type of stone your floors are made of, as this will determine the right sealing product to use.
Are they made of granite, marble, slate, or perhaps travertine? Each type has its unique characteristics and vulnerabilities.
- Granite is durable and resistant but still needs a sealant to protect against stains.
- Marble is softer and more porous, requiring a special marble sealer.
- Slate is a natural stone that’s susceptible to scratches, so a penetrating sealer is often recommended.
- Travertine, being a form of limestone, needs a sealer to protect against etching.
Knowing your stone type helps you choose the most effective sealer, ensuring your floors’ protection and longevity.
Choosing the Right Sealant
Now that you’ve determined your stone type, it’s time to select the appropriate sealant, a key factor in your stone floor maintenance routine. Here are three considerations when choosing your sealant:
1. Sealant Type
Penetrating sealants are best for porous stones like limestone or travertine. Topical sealants work well on denser stones such as granite or marble.
2. Frequency of Application
Some sealants need reapplication every few months, others last for years. Consider how much maintenance you’re willing to do.
3. Environmental Impact
If you’re eco-conscious, opt for a sealant with low VOCs (Volatile Organic Compounds).
Step-by-Step Stone Sealing Process
After you’ve chosen the right sealant for your stone floors, it’s time to delve into the step-by-step process of sealing them. First, ensure the floor is thoroughly clean; any dirt or grime can affect the sealant’s adhesion. Next, apply a thin, even coat of the sealant using a brush or roller. Be sure to cover the entire surface, but avoid pooling. Let it dry for the time specified on the product’s instructions, usually a couple of hours.
After the first coat has dried, apply a second one for extra protection. Again, let it dry completely. Finally, check for any missed spots and reapply if necessary. With patience and attention to detail, you’ll have a beautifully sealed floor that’s ready to withstand daily wear and tear.
Maintenance Tips Post-Sealing
Having sealed your stone floors, it’s crucial you’re mindful of ongoing maintenance to ensure their longevity and preserve their aesthetic appeal.
Here are three tips to assist you:
- Regular Cleaning: Clean the floors frequently with a pH-neutral cleaner to prevent buildup of dirt and grime. Avoid acidic or abrasive cleaners which can damage the sealant.
- Prompt Spill Cleanup: Wipe up any spills immediately. Prolonged exposure to liquid can seep into the sealant, causing potential damage to your stone.
- Periodic Re-Sealing: Depending on the traffic and wear, re-sealing may be necessary every 2-3 years. This will maintain the sealant’s protective barrier, ensuring your stone floors remain as stunning as the day they were installed.
Conclusion
There you have it! Now you’re well-equipped to seal your stone floors like a pro. Remember, identifying your stone type and using an appropriate sealant is crucial. Following the steps for proper sealing and post-care can extend your floor’s life. It’s not just about preserving beauty, it’s about enhancing durability.
So, don’t hesitate, to protect your investment and enjoy the benefits of a well-maintained stone floor.
Photo by Augustine Wong on Unsplash


